How to resize an image is one of the most searched things on the internet. And yet almost every guide sends you straight to a cloud tool — iLoveIMG, Adobe Express, Canva, Squoosh — where you hand over your image file to a company you know nothing about, just to change its dimensions.
I decided to build a better way. The Pixel Defence Image Resizer runs entirely inside your browser. Your image never leaves your device. Not one pixel is uploaded to any server. This guide shows you exactly how to use it, step by step, and explains why that distinction matters.
Why You Should Not Use Most Online Image Resizers
Before I walk you through the tool, I want you to know something most guides skip.
When you drag an image into a site like iLoveIMG, Adobe Express, or Canva’s resize tool, that image is uploaded to their servers. That is not a bug — that is how they work. The file has to go somewhere for their server-side code to process it.
What happens to it after? That depends entirely on each company’s terms of service. Some state that uploaded files are deleted within an hour. Some keep them for days. Some grant themselves a broad licence to your uploaded content as a condition of using their free service.
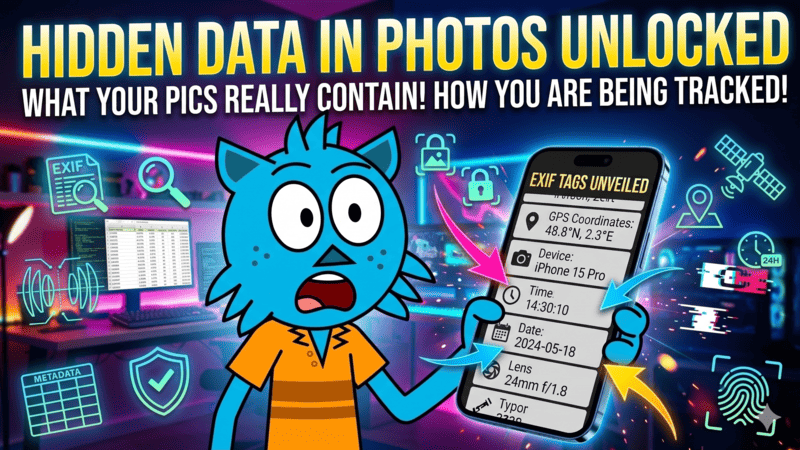
And here is the part most people miss: if you are resizing a photo taken on your phone, that image may contain hidden EXIF metadata — your exact GPS coordinates, the make and model of your device, the precise time the photo was taken.
You can check whether your images carry this data using the Pixel Defence Metadata Scrubber before sharing them anywhere. When you upload to a cloud resize tool, you are potentially handing all of that over.
None of this is necessary. Resizing an image is basic arithmetic that any browser can do locally in under a second. There is no reason it needs a server.
That is why I built the Pixel Defence Image Resizer. Let me show you exactly how to use it.
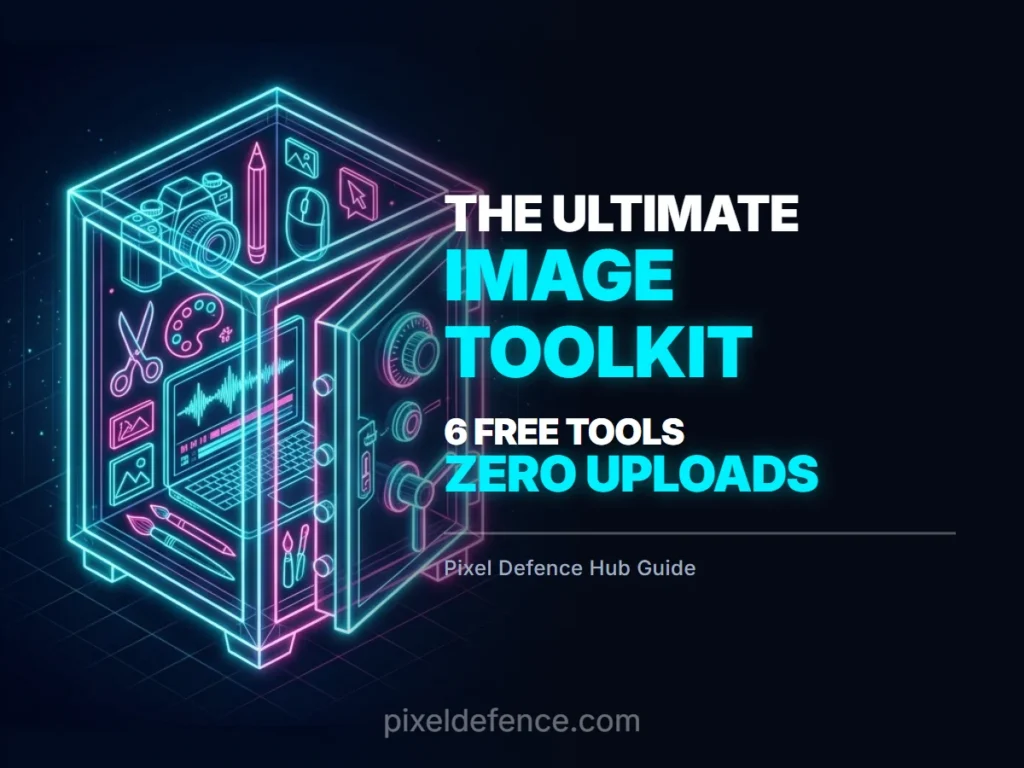
What the Pixel Defence Image Resizer Can Do
Before the step-by-step, here is what the tool handles:
Resize by exact pixel dimensions— set a precise width, height, or both
Resize by percentage — shrink to 50%, enlarge to 200%, anything in between
13 social media and standard presets— Instagram, Twitter, Facebook, LinkedIn, HD, Full HD, 4K
Lock aspect ratio — resize width and height adjusts automatically to keep the image proportional
Batch resize — drop in multiple images and resize all of them in one operation
Output format control — export as JPG, PNG, or WebP
Quality slider — balance file size against visual quality when exporting JPG
Zero upload — everything processes in your browser, nothing goes anywhere
Now the step-by-step.
How Do I Resize an Image to Exact Pixel Dimensions?
This is the most common need — a website asking for images under a certain width, a client requesting a specific size, or a form that only accepts files under 1MB.
Step 1 — Open the Image Resizer
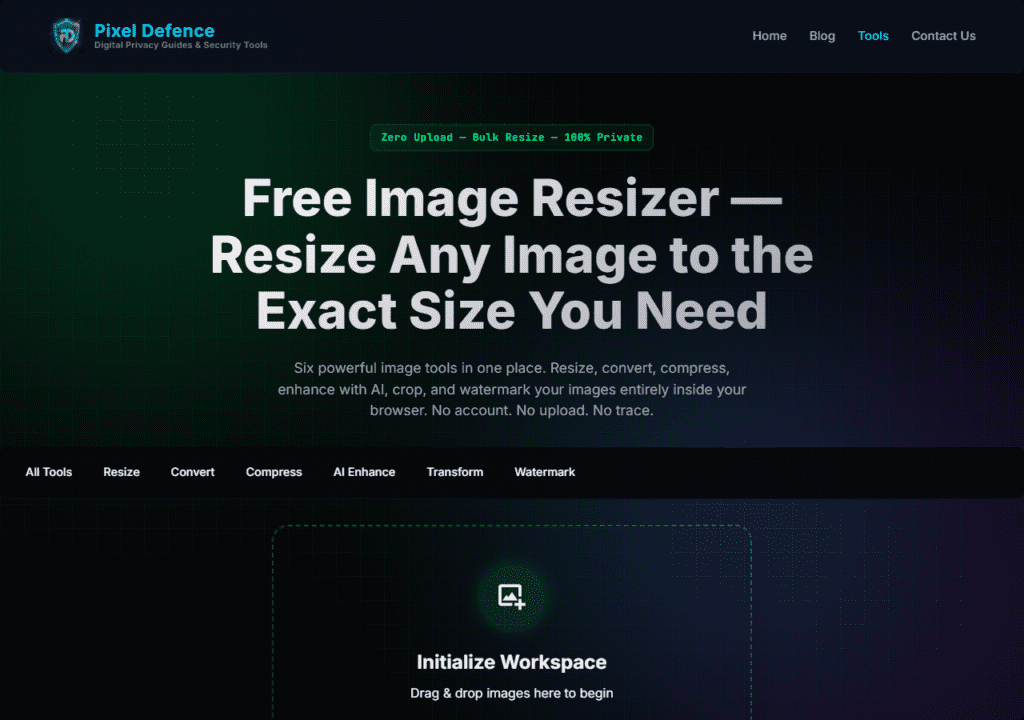
Go to pixeldefence.com/image-resizer. The tool opens directly with no account, no sign-up, and no splash screen asking for your email.
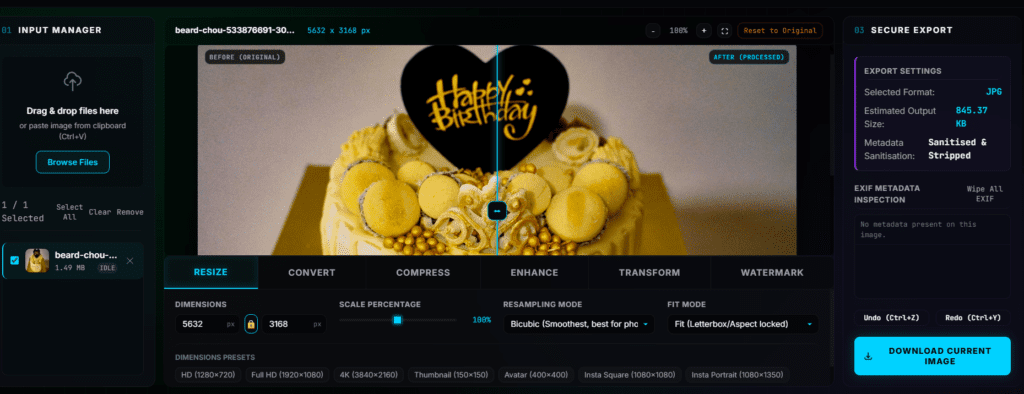
Step 2 — Drop your image into the Input Manager
The left panel is the Input Manager. Drag and drop any image file directly onto it, or click Browse Files to select one from your device. The tool accepts JPG, PNG, WebP, HEIC, and BMP files.
Once your image loads, it appears in the file queue with its current dimensions shown. For example: 3024 × 4032 — that is the full resolution straight from a modern smartphone camera.
Step 3 — Open the Resize tab
The central workspace shows your editing panel. Click the Resize tab at the top. This is where all the dimension controls live.
Step 4 — Choose Pixel mode
You will see three mode options at the top of the Resize panel: Pixel, Percentage, and Preset. For exact pixel dimensions, click Pixel.
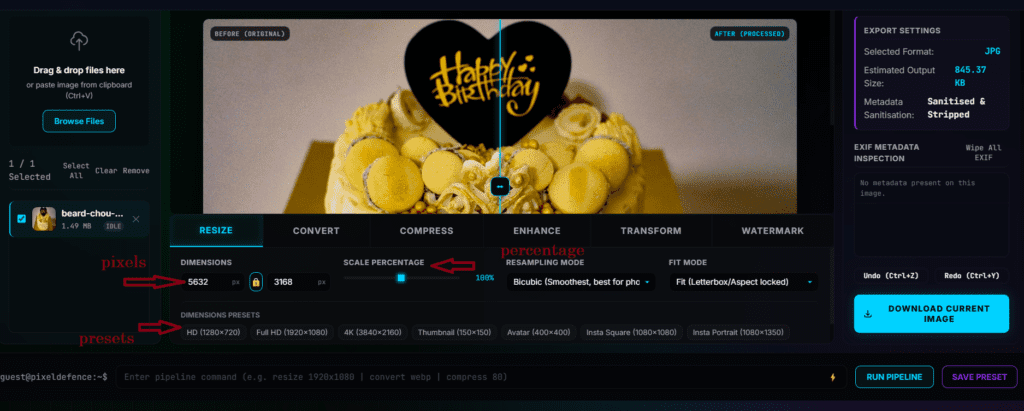
Step 5 — Enter your target dimensions
Type the width you need into the Width box. If you want to keep the image proportional, make sure the Lock Aspect Ratio toggle is on — shown by a chain link icon between the width and height fields. When you type a width, the height calculates automatically.
If you need a fixed width AND fixed height that does not match the original proportions — say, fitting a portrait photo into a square format — turn the lock off and enter both values independently.
Step 6 — Apply the resize
Click Apply at the bottom of the Resize panel. The preview updates instantly. The new dimensions confirm in the image preview area.
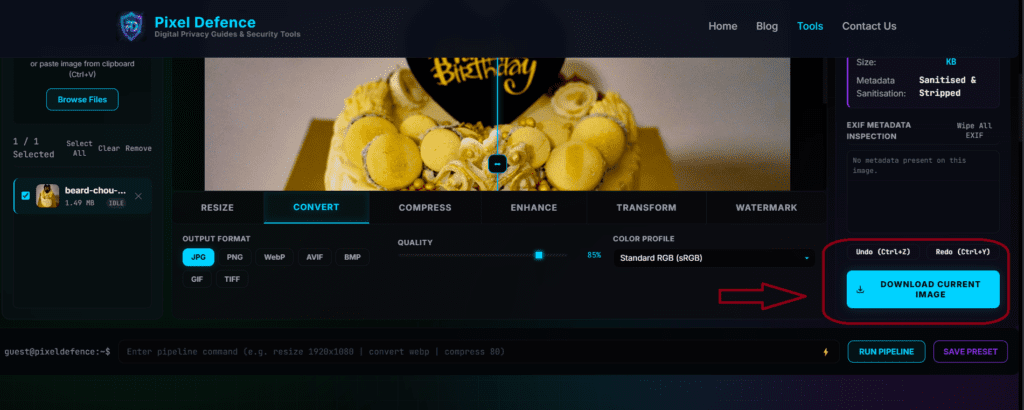
Step 7 — Export your resized image
In the right panel (Secure Export), choose your output format:
JPG — best for photos, smallest file size
PNG — best for screenshots, graphics, and images with transparent areas
WebP — excellent quality-to-size ratio, ideal for websites
If you export as JPG, use the Quality slider. 85% is a reliable default — visually identical to 100%, at a fraction of the file size.

Click Download. The resized file saves directly to your device. Nothing was sent to any server.
What Size Should Images Be for Instagram, Twitter and Facebook?
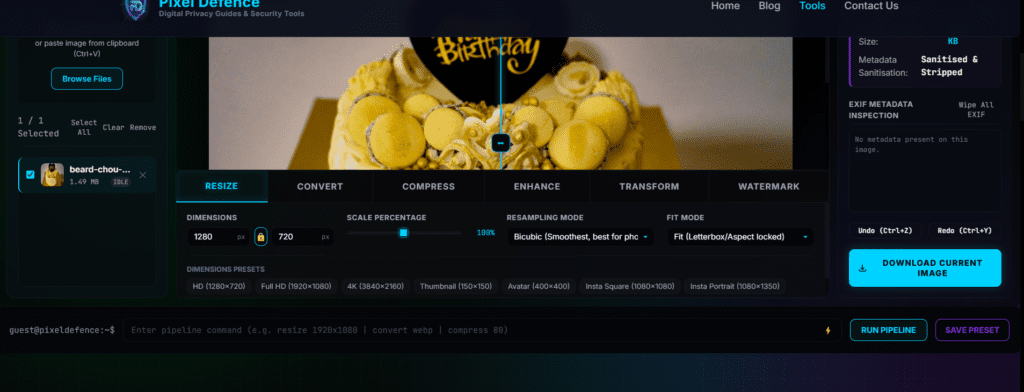
If you are resizing images for social media, the Preset mode eliminates all guesswork.
Step 1 — Load your image into the Input Manager
Same as described above — drag and drop or browse.
Step 2 — Select Preset mode in the Resize tab
Click Preset in the mode selector. A list of pre-loaded sizes appears.

Step 3 — Choose your platform preset
Here are all 13 presets built into the tool:
| Preset | Dimensions | Best used for |
|—|—|—|
| Instagram Square | 1080 × 1080 | Standard feed post |
| Instagram Portrait | 1080 × 1350 | Portrait feed post — more screen real estate |
| Instagram Story | 1080 × 1920 | Stories and Reels cover frame |
| Twitter Post | 1200 × 675 | Tweet with image attachment |
| Twitter Header | 1500 × 500 | Profile cover banner |
| Facebook Post | 1200 × 630 | Standard news feed image |
| Facebook Cover | 820 × 312 | Page cover photo |
| LinkedIn Cover | 1584 × 396 | LinkedIn profile or company banner |
| Avatar / Profile | 400 × 400 | Profile picture for most platforms |
| Thumbnail | 640 × 360 | YouTube thumbnail base or article thumbnail |
| HD | 1280 × 720 | Standard HD web image |
| Full HD | 1920 × 1080 | 1080p widescreen output |
| 4K | 3840 × 2160 | 4K / UHD output |
Click your preset. Width and height fill automatically.
Step 4 — Apply and download
Click Apply then Download. Your image is now the exact right size for that platform.
How Do I Resize Multiple Images at Once?
If you have a batch of photos that all need the same dimensions — a product catalogue, a set of blog images, a client folder — resize them all in one operation.
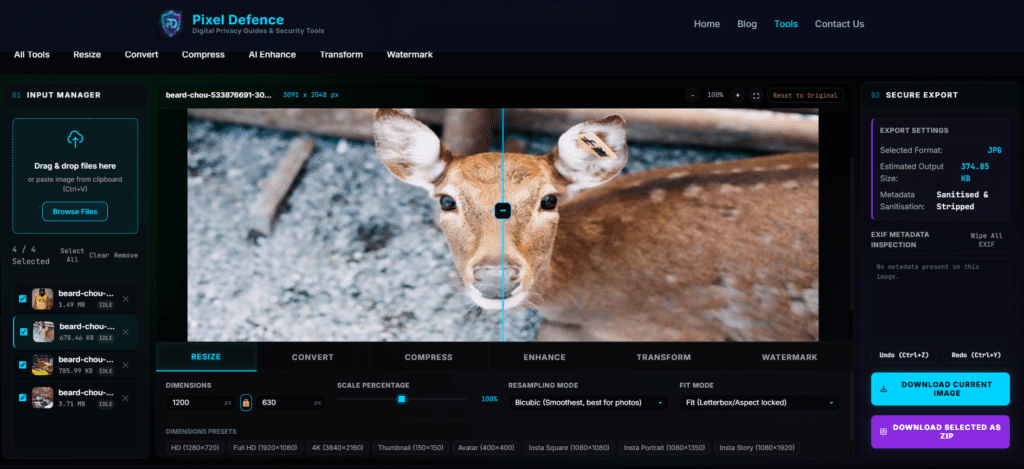
Step 1 — Drop all your images into the Input Manager
Drag multiple files or an entire folder selection onto the Input Manager. All images appear in the queue. The count at the top shows how many are loaded.
Step 2 — Select All
Click the Select All link above the file list. Or click individual images to select only specific files from the batch.
Step 3 — Set your resize settings once
Every resize setting you configure applies to all selected images simultaneously. Set mode, dimensions, and click Apply.
Step 4 — Download All as ZIP
Click Download All in the Export panel. The tool packages every resized image into a single ZIP file saved directly to your device.
Does Resizing an Image Reduce File Size?
Yes — in most cases, significantly. Fewer pixels means less data to store. A 4000 × 3000 pixel photo might be 8MB. Resize it to 1200 × 900 and the same quality setting might produce a 1.2MB file.
However, resizing addresses dimensions. For maximum size reduction, combine both steps:
1. Resize to the dimensions you actually need — no larger
2. Use the Pixel Defence Image Compressor to reduce file size further without visible quality loss
Both tools run locally. Neither uploads anything.
If you also need to change the file format — for example, converting a PNG to a more web-efficient WebP — use the Image Converter as a third step. Again, nothing uploads.
How Do I Resize an Image Without Losing Quality?
The answer depends on the direction you are scaling.
Resizing down (making smaller): Almost no visible quality loss. You are removing pixels that were never displayed at that size. Going from 4000px to 1200px on a screen that shows 1200px at most changes nothing you can actually see.
Resizing up (making larger): This is where standard resizing fails. Enlarging means inventing pixels that were not there. Standard upscaling produces blur.
If you need to enlarge an image and keep it sharp, use the [Pixel Defence AI Image Enhancer]() instead. It runs a neural network in your browser to reconstruct real detail at 2× or 4× the original resolution — genuinely sharper results, not just stretched blur. And again, nothing is uploaded.
For JPG export quality: Keep the quality slider at 85% or above. Below 75%, compression artefacts become visible — blocky noise, soft edges, colour banding. At 85%, the result looks identical to the original at significantly smaller file size.
Is It Safe to Use Online Image Resizers?
I get this question from people who resize work documents, medical images, legal files — anything that should not sit on a stranger’s server.
Any tool that processes your image on a server carries inherent risk. Not because those companies are necessarily malicious, but because you have no visibility into what happens to your file after upload, how long it is retained, or who has access to their servers.
You can check what data your own browser is currently broadcasting using the Pixel Defence Data Leak Checker — it shows you in real time exactly what signals every website you visit receives from your browser.
Local tools eliminate the upload risk entirely. If the code runs in your browser and the image never leaves your device, there is nothing to intercept, nothing to retain, nothing to misuse.
The Pixel Defence Image Resizer works this way by design. The source code that processes your image runs on your own machine.
It is not that cloud tools are all dangerous — it is that local processing is objectively safer, and for an operation as simple as resizing, there is no reason to accept the cloud risk.
Step-by-Step Checklist: How to Resize an Image in Under a Minute
1. Go to pixeldefence.com/image-resizer/
2. Drop your image into the Input Manager (left panel)
3. Click the Resize tab in the central workspace
4. Choose your mode — Pixel for exact dimensions, Percentage to scale, Preset for social media sizes
5. Enter your dimensions — enable Lock Aspect Ratio to keep proportions correct
6. Click Apply— the preview updates instantly
7. Set your export format — JPG, PNG, or WebP depending on use case
8. Set quality to 85% for JPG — visually lossless at the best file size
9. Click Download — file saves to your device. Nothing went anywhere.
Other Image Tools You Might Need After Resizing
Change file format (JPG to WebP, PNG to JPG): Image Converter
Reduce file size further: Image Compressor
Crop, rotate, or flip: Image Transform Tool
Add a watermark or copyright mark: Watermark Maker
Upscale a small image with AI instead of stretching it: AI Image Enhancer
All tools run locally. Nothing is ever uploaded.